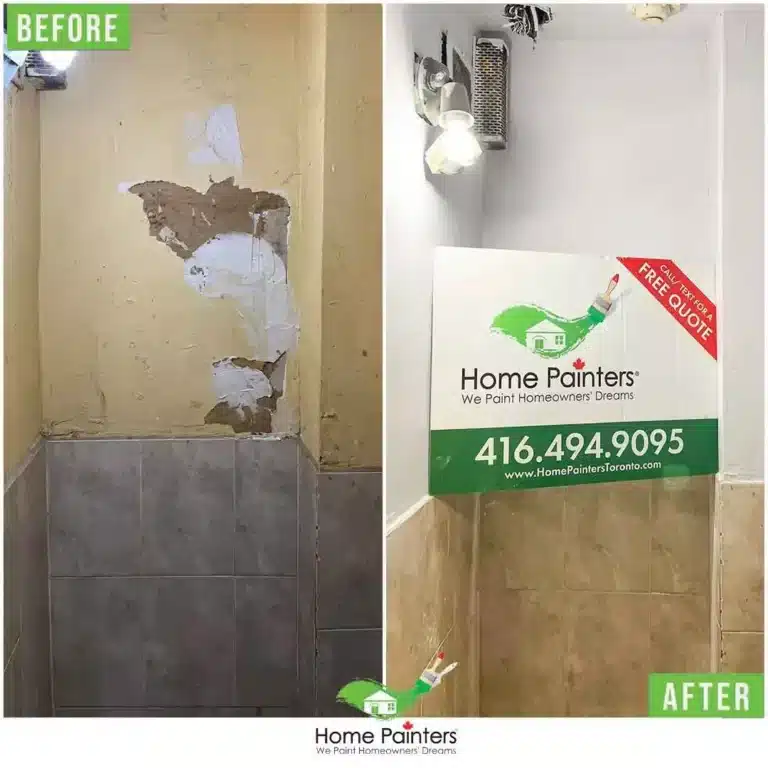
Whether it is from removing wallpaper in a rush, or being a little too aggressive when moving furniture, walls and ceilings will sometimes get badly damaged.
When this happens, the two options available to you are either to skim-coat it or to plaster it. So what’s the difference between a skim coat ceiling vs plaster ceiling?
Plastering is the more traditional approach—it involves spreading a layer of wet plaster on the ceiling and letting it dry before sanding it smooth and painting.
On the other hand, Skim coating is the act of applying a thin coat of plaster, or mud, to your walls in a thin layer with the goal of smoothing or repairing the wall to make it smooth. It’s a great way to get your walls nice, smooth, and looking great!
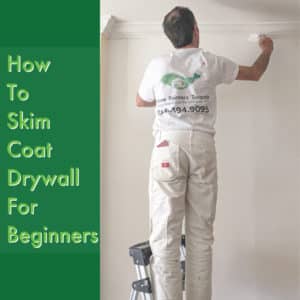
But how do you skim-coat walls? If you’ve ever skimmed a ceiling or wall before, you know that it’s a relatively straightforward process. The problem is that many people don’t know how to do it correctly, which means they end up with a surface that isn’t as smooth and even as it could be.
To help prevent this from happening to you, we’ve outlined the basics of how to skim a wall for beginners so that you can have a flawless, professional finish on your next project.
Let’s Do A Step-by-step Analysis of How to Skim Coat A Wall or Ceiling:
Step 1: Prep Your Room before Painting
Before you begin the skim coating, you have to prep the room before Interior Painting . In order to do this, you must:
- Clear out all furniture and wall decorations and cover the floor with a painting drop cloth
- Remove all plastic coverings from electrical sockets and cover them with plastic
- Replace and/or repair any major drywall holes
- Remove any nails from the wall, filling the holes in with joint compound
Step 2: Skim Coat Plaster the Walls and Ceilings
Now it’s time to actually start the skim coating process.
- Grab a bucket of joint compound and stir with an electric drill until it’s completely smooth. You can also use premixed plaster. CGC 20 is a common one you can get from your local Home Depot or hardware store.
- You want the compound to have the consistency of cake batter at this point.
- Scoop the compound onto your hawk and apply it to the wall in a vertical direction with your drywall knife.
- Make sure that the surface of the wall is completely smooth, and then allow several hours to dry.
Step 3: Sand the Walls and Ceilings
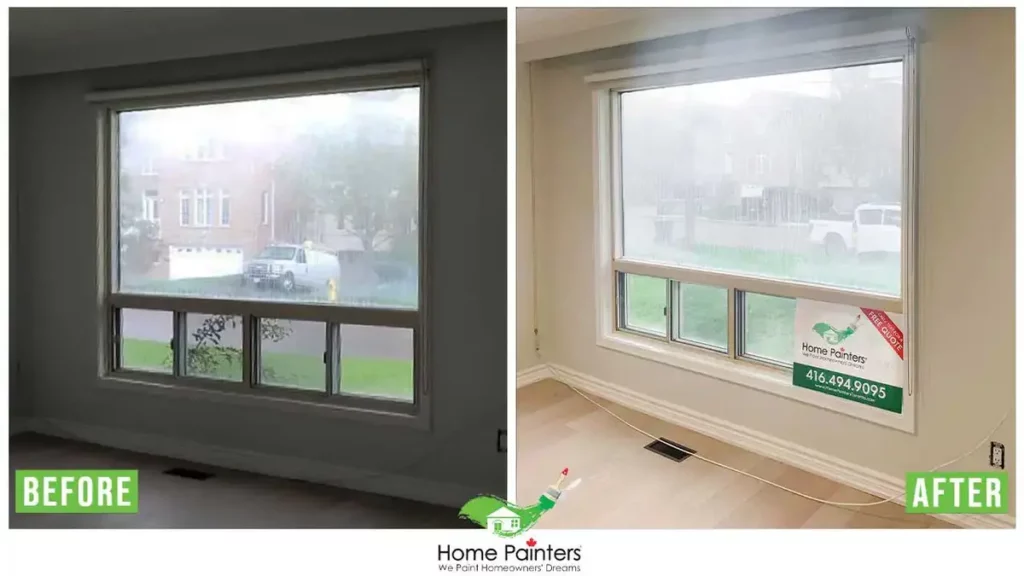
Once the first coat of plaster has dried, sand smooth with a pole sander and 200-220 grit sandpaper
Step 4: Check Your Work Carefully
- Scan and check for any imperfections in the walls or ceilings.
- Repeat steps 2 and 3 if needed.
- You may need to do more than two coats of plaster to get the wall perfectly smooth.
- Switch from vertical to horizontal application to ensure even coverage of the wall to get it as smooth as possible.
Step 5: Prime the Surfaces
Put Primer:
- Once you are satisfied with your skim coat plastering work, apply a latex-based primer to the wall to seal everything in.
- Let dry, then check AGAIN for imperfections. If there are any imperfections, repeat steps 2, 3, and 4.
Step 6: Apply Your Finish Coat
Finish coats of paint/wallpaper:
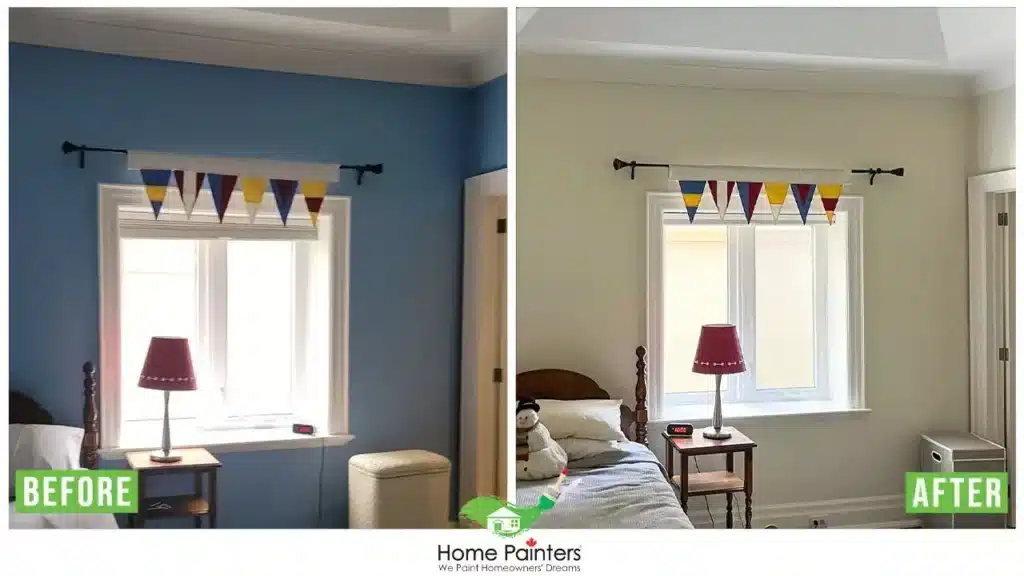
Once you are happy the surface is completely smooth, apply a finish coat of paint or wallpaper depending on the application.
And you’re all done. Congratulations on your brand-new smooth walls!
TOP Blogs Related to
“HOW TO SKIM COAT CEILINGS AND SKIM COAT WALLS”
If you aren’t feeling up to the task, no worries! With over 36 years of experience in home renovations and Home Painting in Toronto and the GTA, Home Painters Toronto can get this job done for you. We are a top-rated Interior painter on HomeStars and are regularly seen on House and Home Magazine’s Media Channel. We offer a 100% satisfaction guarantee on all Interior Painting, Interior decoration and Interior Renovation.


