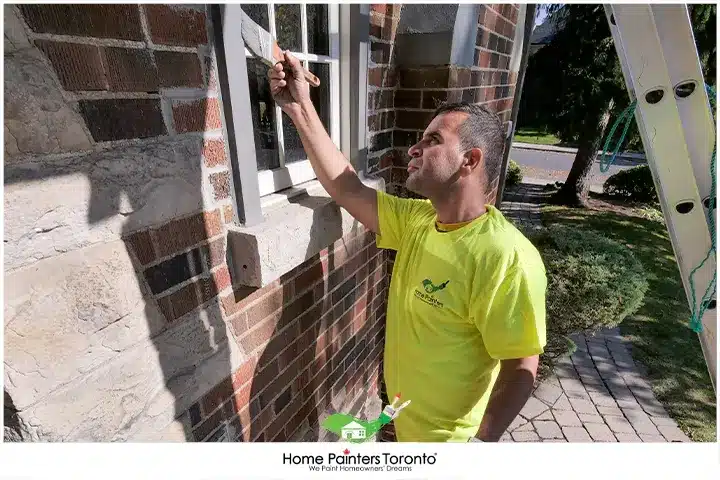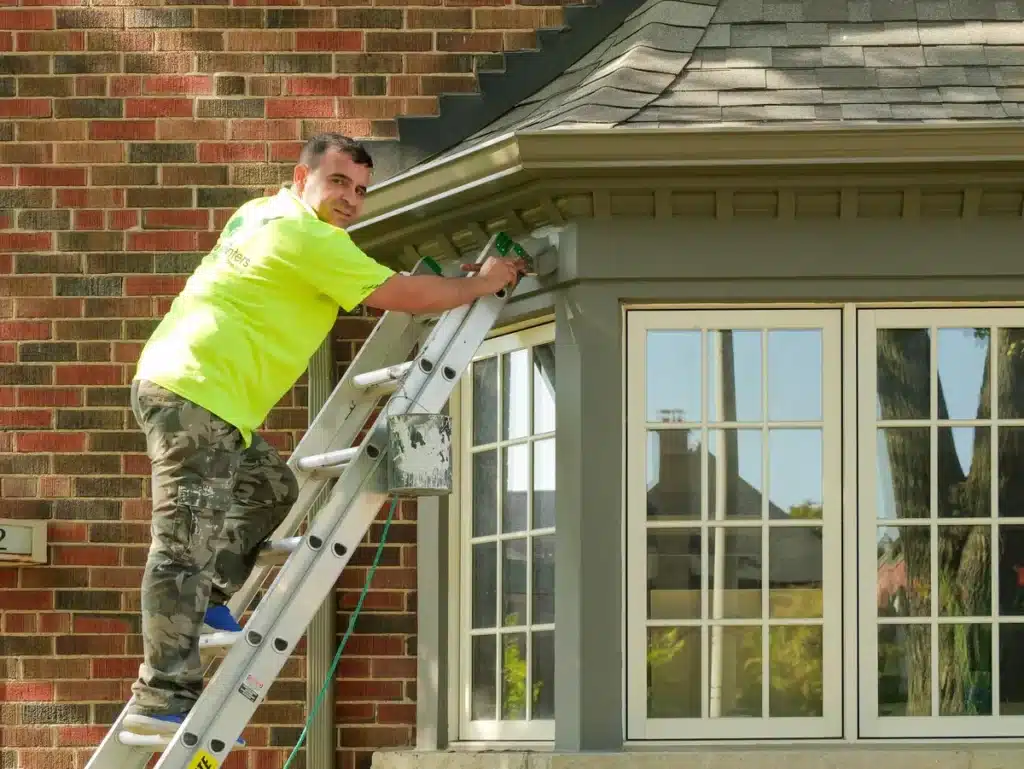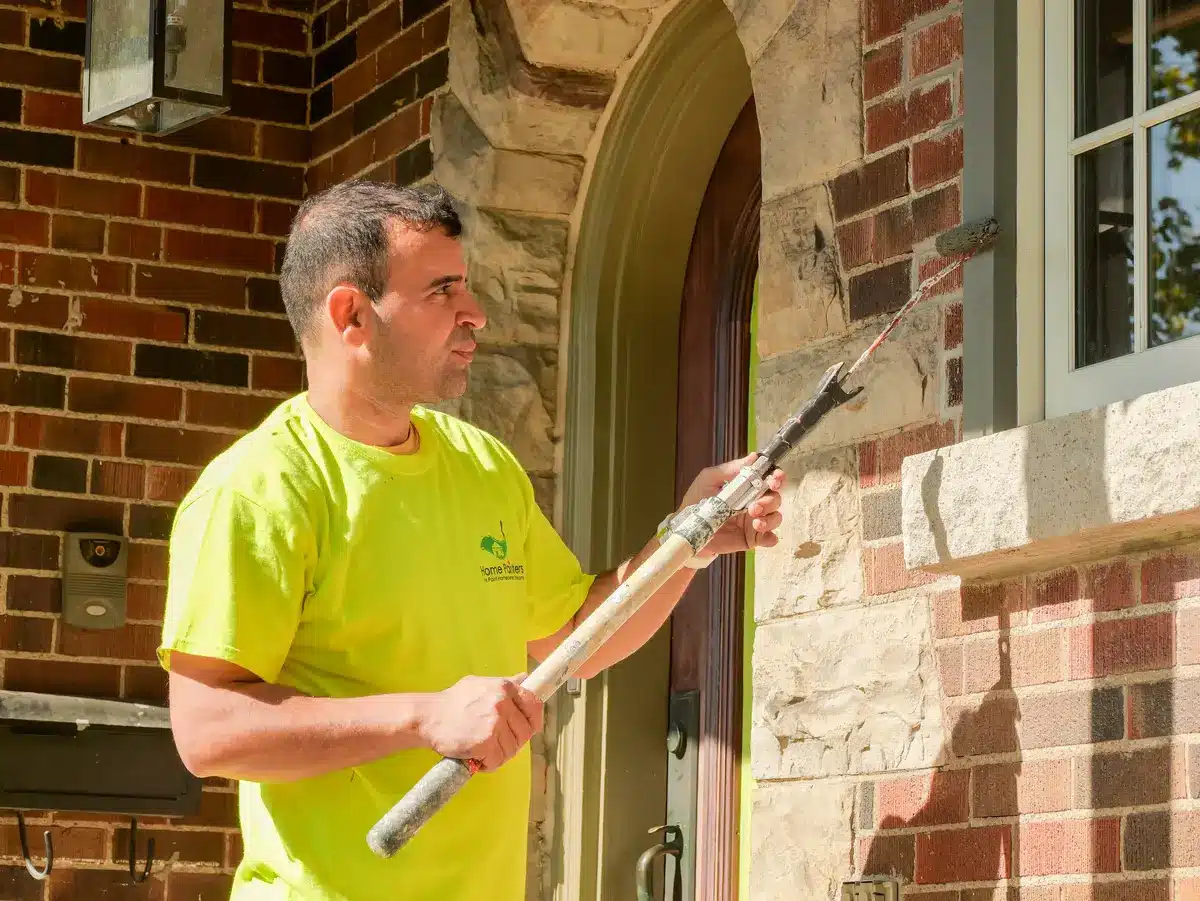
Painting exterior window trim is one of the most effective ways to overhaul your home’s curb appeal. It’s a quick, easy project that can give your house a whole new look—and make it appear more expensive than it really is.
Exterior window trim painting is a simple but powerful way to make your home look sharp. If you’re looking for an easy way to increase the value of your home without spending too much time or money on renovations, this is it!
However, painting exterior window trim can be a lot of work. If you don’t have the right tools and supplies, it can feel like a big job that’s impossible to complete.
When it comes to any project, including painting, preparation is always important. With the right tools and paint, painting exterior window trim will not be difficult. Plus, in terms of curb appeal, it will all be worth it in the end! And if you hire professional painters to accommodate you, life will be easy. A clean window trim will go a long way to improving the look of your home’s exterior. Let’s not forget that preparation is just as important as the end product!
How To Paint Exterior Window Trim
Labour Costs
Now, you need to remove hardened caulking. With a putty knife, and only on older windows, you need to scrape off the semisolid sealant that fills between trim boards. This is because as time passes, they become brittle and pull away from the trim.
Start with slanted blades to remove old caulking from the seam and then use the sharp point to dig out old caulking from the corners.
The Number of Colours and Finishes
- Wipe down trim: Once all the loose paint has been taken out, you will need to use a household degreasing cleaner for interior wood. On exterior wood, to protect from any potential mildew growth, you will need to pick a cleaner that contains mildewcide. If you are working with a metal trim, you should use a rust-removing cleanser.
- Sand trim: Although there are various types of trim, if there has been paint applied, start with 150-grit sandpaper to smooth the old layer of paint. Also, to reveal the bare surface. Once that is complete, use 220-grit sandpaper to further smooth the surface.
- Put in new caulking to exposed seams: For caulking to be effective, especially with painting exterior window trim, it needs to be smoothly applied to the crack. Using a caulk aid to smooth out the bead will make your life very easy. First, start on one end and with light pressure, pull the caulk tool to the opposite end. Then, if the caulk builds up under the tip, wipe it down with a clean cloth rag, until it gets to the end of the seam.


Now you can start painting your exterior window trim!
For prior painted trim, start with a fresh coat of paint. For trim that is unfinished, you will need to use a coat of primer before painting. Using Hyde tools, you can begin painting exterior window trim. Once you have painted 11 inches of trim (approximately), lift the paint shield and wipe the blade on a cloth rag, before moving on to the next section. If you have narrow strips of trim, you should purchase a small angled brush, so that you can be more successful in this difficult process. For a durable finish, apply one to two coats of paint. Wait the right amount of time before applying a new coat of paint. Make sure to read the drying times on the paint can for the best results. Lastly, getting paint on the window panes is okay! Please do not panic, as this is part of the process.
Best Paint for Exterior Window Trim
There are a lot of factors to consider when choosing the best paint for exterior window trim. You want something that is going to stand up against the elements, be resistant to fading, and still look good after years of being exposed to the sun.
We know that there are a lot of different types of paint out there, but we want to share with you some helpful tips on what type of paint is best for your window trim.
First things first: Exterior paints are generally oil-based, acrylic latex, or water-based paints. These three types have their own advantages and disadvantages.
- Oil-based paints are durable, easy to apply, and have a glossy finish, but they take longer to dry than acrylic latex or water-based paints.
- Acrylic latex tends to be more durable than water-based paints because it doesn’t absorb moisture as easily as water does. Which makes it ideal for use outside.
- Finally, water-based paints are easy to clean up after you’ve applied them. Which can be especially convenient if you’re painting over an existing colour.

When it comes to choosing paint for window trim, there are a few things you need to keep in mind
• First and foremost, you want to make sure that you’re using paint that will last. This means using high-quality paint that is made for exterior use, as well as making sure that the paint has been formulated for protection against ultraviolet light and water damage.
• The second thing to consider when choosing exterior window trim paint is colour. For most homeowners, it’s best to stick with neutral colours such as gray or beige. These colours will help your home blend into its surroundings better, which can help prevent vandalism and other unwanted attention from passersby.
• Finally, pay attention to how much light will shine through your windows at different points in the day. Especially if those windows face south or west! The more direct sunlight that gets through those windows during certain times of day (like mid-day), the more likely it is that any imperfections in your paint job will be noticeable.
PRO-TIP: If you’re not sure what kind of paint to use on your windows, consider using acrylic latex. These paints are generally easier to clean and repaint than oil-based paints (though they do require more prep work), but they also tend to last longer without yellowing or cracking over time.

Removing paint from glass
It is completely doable to remove paint from glass, in the easiest and non-toxic way. This way, you will not damage the glass. You will need white vinegar and water. For tools, you will need a rag and a saucepan.
- Boil in your saucepan, 3 tablespoons of white vinegar and 2 tablespoons of water.
- With your rag, dip it into the hot vinegar and water. Please be careful not to burn yourself. Maybe wear oven mitts as added protection.
- Lastly, rub the rag on the painted glass, in a slow manner. As the heat will loosen up the paint, scrub harder once the paint comes up.
- It is completely possible that the paint can not come off right away, and that’s okay. In situations like that, use a razor blade to scrape off the paint once it is loosened by the hot vinegar mixture. The surface must remain wet and scrape diligently so that you don’t scratch the glass.
Painting Exterior Window Trim Complete!
Whether you did this yourself or with the help of one of Toronto’s painting companies, you have completed the process of painting exterior window trim! Exterior home painting is difficult because there is so much space to cover. Regardless, preparation will take you far in these home renovation projects.
TOP Blogs Related to
“PAINTING EXTERIOR WINDOW TRIM”
At Home Painters Toronto, our main goal is to satisfy you, the homeowner! We will help you pick the colours you want, and show you the latest painting and home renovation trends so that you feel satisfied with the outcome. We use multiple products that everyone loves, such as Benjamin Moore and Sherwin Williams! With over 36 years of experience and many happy clients to show for it, call us now at 416-494-9095. We would be happy to provide you with a FREE no-obligation quote and answer all your inquiries about painting exterior window trim! And don’t forget to follow us on all our social channels below as well!


