As it seems, everything that was once considered old and dated always comes back into style! That’s how it’s been with wallpaper removal as well as new wallpaper installation over the years. Some people are still really into the idea of having wallpaper in their homes. It can add personality and a sense of uniqueness to a space. Plus, there’s the texture that it adds to a room as well.
For some, before they are able to do the wallpaper installation, they have to first figure out how to remove wallpaper. It might seem like a super tedious process, but really, once you get the hang of it, it can go rather smoothly. So, without further adieu, let’s get into how to remove old wallpaper!
Types of Wallpaper and Their Removal Techniques
Embarking on a wallpaper removal journey begins with understanding the adversary adorning your walls. Different wallpapers have unique personalities, and it’s critical to acquaint yourself with these characters before starting the removal process. Here’s your roadmap to different wallpaper types, paired with tailored removal techniques that cater to their specific quirks.
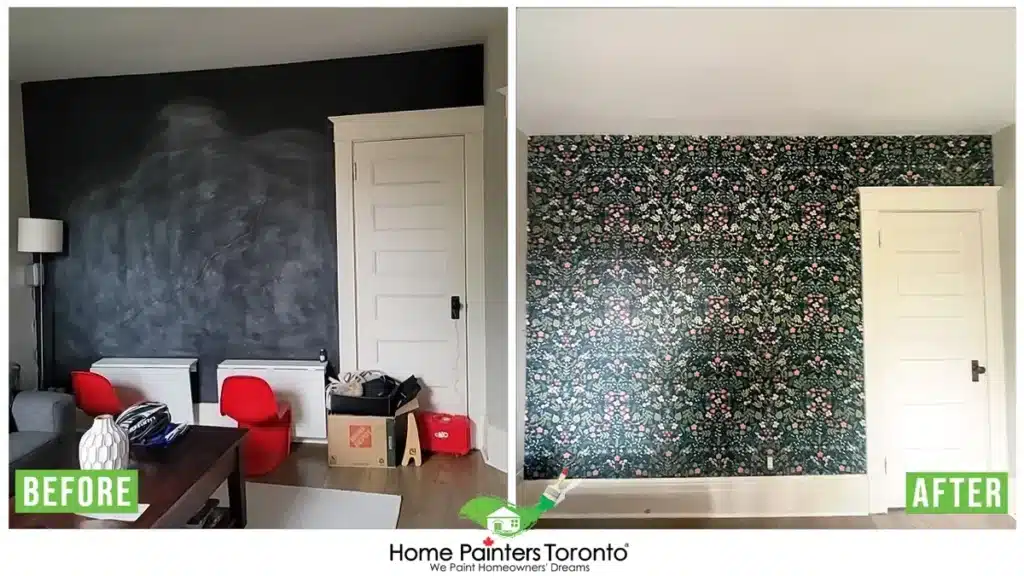
Traditional Wallpaper
The classic. This is where wallpaper began: simple paper with a printed design. It’s often found in older homes, whispering tales of design trends past.
Removal Technique: Traditional wallpaper may respond well to steaming since it doesn’t have a waterproof layer. Gently score, steam, and peel back the memories with care, realizing that patience is your best tool in this historical excavation.
Vinyl-Coated Wallpaper
The protective one. Vinyl-coated wallpapers have a paper base but are sealed with a thin layer of vinyl, offering some defence against moisture and light.
Removal Technique: Start by peeling off the vinyl top layer; often, it’ll come away with relative ease, leaving the paper backing behind. Once you’ve stripped its armour, treat the remnant with a removal solution, allowing it to soak through to the adhesive, then remove it as you would a traditional wallpaper.
Solid Vinyl Wallpaper
The tough nut. Completely made of vinyl, these wallpapers are highly water-resistant and need a bit more coaxing to leave their stronghold.
Removal Technique: Score thoroughly. You will need to pierce its armour for your removal solution or steamer to infiltrate effectively. A good soak, and a bit of a wait, will see you victoriously peeling the sections off.
Foil Wallpaper
The shiny show-off. Typically metallic, these wallpapers reflect light and can be bright, but removal is not always so brilliant.
Removal Technique: Being very delicate is the key. Steam can be particularly effective for foil wallpapers. You must soften the adhesive without completely soaking the paper, as it can easily tear.
Fabric Wallpaper
The sophisticated choice. Often seen in high-end decor, this choice wraps your walls in texture and warmth.
Removal Technique: Dry-stripping is often the suggested route, but if it’s stubborn, a solution-soaked process might be necessary. Apply your wallpaper removal solution with a gentle touch—too much liquid can damage the delicate fabric fibres.
Grasscloth Wallpaper
A touch of nature. This type brings an organic texture to your walls with its natural fibres.
Removal Technique: Respect the material, as forceful removal can damage the wall. A gentle application of remover can be sprayed on to penetrate and release the adhesive. Then proceed with slow and steady peeling.
Peel-and-Stick Wallpaper
The modern, convenient option. Designed for ease of use, it’s the favourite for DIY enthusiasts.
Removal Technique: Living up to its name, peel-and-stick wallpapers should be peelable. However, in some instances, you may need a hairdryer to warm and loosen the adhesive, making it more pliable and easier to remove.
How Do Professionals Remove Wallpaper
Revamping your walls with a fresh coat of paint or a new wallpaper design can invigorate any space, but often, we’re met with a common obstacle: removing the old wallpaper. It can seem daunting, but with the right approach and a bit of patience, it’s an achievable task that can significantly transform your area. Let’s take a journey together through a step-by-step guide on how to remove wallpaper that will make the process an orderly and satisfying endeavour.
Materials Needed For How to Remove Wallpaper:
There are a few things you’re going to want to keep handy for wallpaper removal. Here’s our list to help things go smoothly:
- Drop cloth
- Putty knife
- Razor knife
- Bucket
- Paint scraper
- Painter’s tape
- Safety goggles
- Sandpaper or wallpaper scoring tool
- Hot water
- Liquid stripper concentrate
- Steamer or pressure washer
- Fabric softener or vinegar
- Garbage bin
First Steps For Wallpaper Removal:
Firstly, you’re going to want to protect your floors with drop cloths because the old wallpaper removal process can get a little messy. You can use a little painter’s tape to secure the tarp around the baseboards of the room and floor.
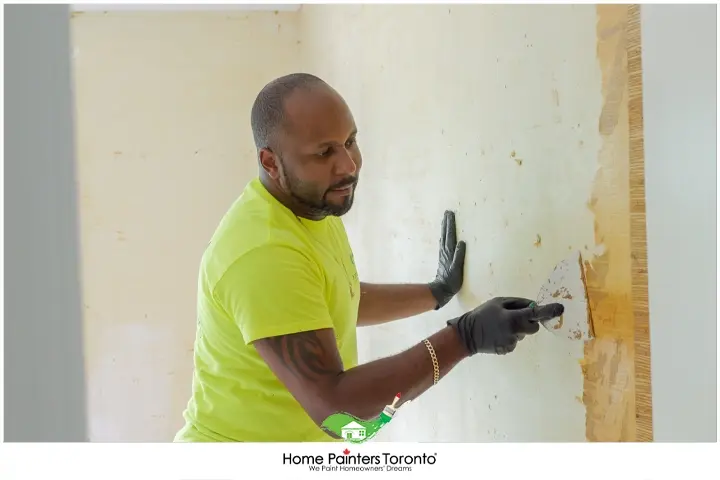
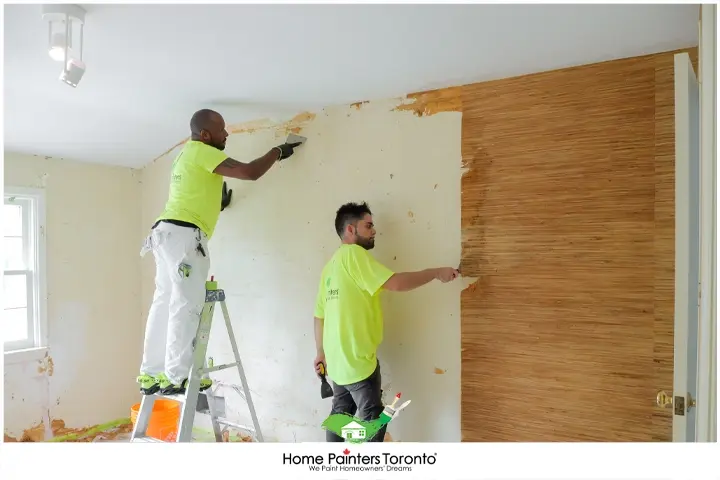
Then, you’re going to want to think about how to remove wallpaper in the fastest and most efficient manner possible. Take your wallpaper scraper or putty knife, begin at a seam or edge, and work from there. If possible, peel your wallpaper down or begin to scrape it off the wall. If you’re really lucky, it might come off in larger sheets, but for older wallpaper that’s been on the wall for a long time, it usually requires more effort.
How to Remove Wallpaper: Scoring & Hot Water Solution
For those who are a bit unlucky with their removal process, there’s a bit more to it in terms of how to remove old wallpaper. If you need to apply the hot water solution in order to better remove your wallpaper, you’re going to need to score it first. You can find inexpensive wallpaper-scoring tools at any hardware store. You simply use this tool to apply light pressure to the entire surface of where your wallpaper rests on the walls. It works to puncture little holes into the paper (and sometimes on the walls, which can require some putty work later on).
After you’ve used the scoring tool for wallpaper removal, you’re going to need your hot water solution. You can either use a wallpaper stripping solution from the store or make your own! Your at-home solution simply requires either a little dose of fabric softener with hot water or adding about ⅓ of vinegar to hot water.
How to remove wallpaper: apply solution & scrape
Once your hot water solution is ready to go, you’re going to want to apply it to the wall with either a small pressure washer or steaming device for wallpaper removal. Once you get it spraying on your wall, give it a minute or two to really do its thing! Once the surface feels thoroughly wet and you’ve given it a few minutes to work, begin scraping your wallpaper off the walls.
Even after you’ve applied your solution and removed the wallpaper, you might find that some of the adhesive is still sticking on the walls. Simply go over these spots again with your hot water solution and scraper to get rid of the excess glue. As a last step for how to remove wallpaper successfully, you’re going to want to use a clean rag to fully wipe down your walls. And ta-da! There you have a fairly easy and successful solution for how to remove wallpaper.
Conclusion
Removing wallpaper, while somewhat time-consuming, is a task well within your grasp, and the result is worth the effort. As you stand before your newly blank canvas, take pride in the work you’ve done – the stage is now set for your creativity to shine through without reservation.
More Interesting Blogs Related to
”Wallpaper Removal“
Not looking to remove old wallpaper yourself? If the work involved in repairing or interior painting sounds like it involves too much time and energy to do yourself, have our professional interior house painters do the job! Call 416.494.9095 or email [email protected] for a FREE quote. And don’t forget to follow us on all our social channels below!


