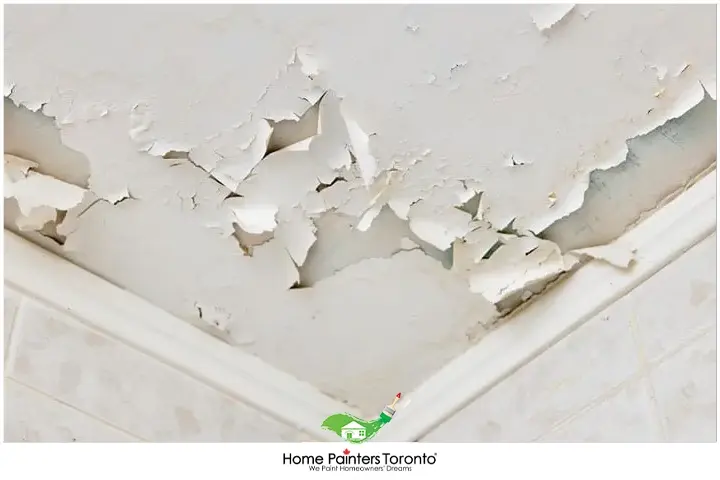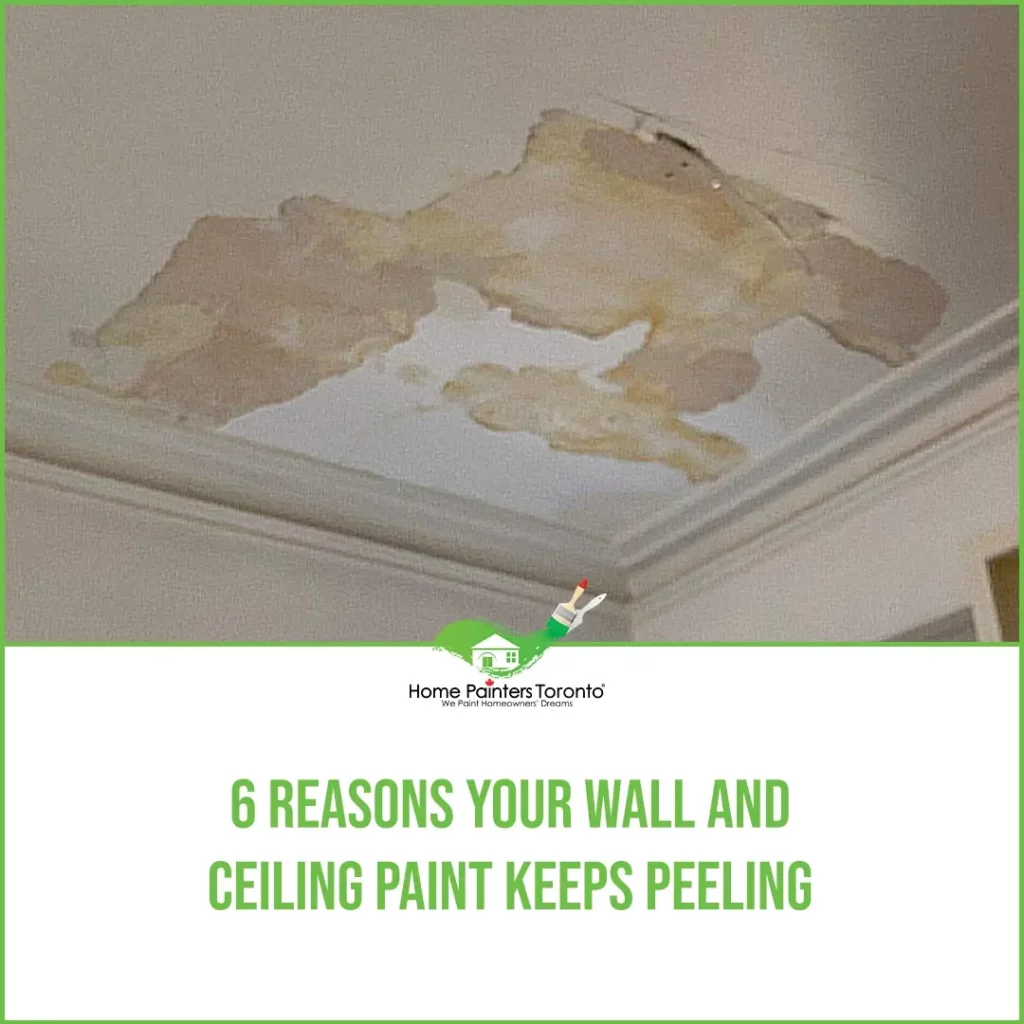
Ceiling paint peeling can be such a huge issue for so many homeowners. Most often, it happens in bathrooms due to the extra moisture. But really, you may find this issue in any room in your home. Especially in rooms that are humid or didn’t have the proper prep prior to painting, you may experience ceiling paint peeling. Unfortunately, there may be a few times in your life when you ask yourself: how do I fix peeling paint on the ceiling?
The good news is that there are ways you can do ceiling repair! There are a few easy steps to remember as well as a few tools you’re going to need. So, without further adieu, let’s dig into how do I fix peeling paint on the ceiling!
Top Reasons For Ceiling Paint Peeling
Have you ever asked yourself the question: how do I fix peeling paint on the ceiling? Before diving into the solution, it’s essential to understand the peeling paint on the ceiling cause.
• Water damage: Usually, a lot of the main reasons for ceiling paint peeling off have to do with moisture. As we’ve said, that’s exactly why it can be such an issue in bathrooms. The humidity in the air, especially around bathtubs and showers, can impair the paint’s adhesive properties. And before you know it, you have peeling on bathroom ceiling paint. Leaks from the roof or an upstairs bathroom can cause water to pool in the ceiling, gradually seeping into the paint and eventually causing it to peel.
• Insufficient preparation during painting: Another simple mistake that causes ceiling paint to peel is improper cleaning, prep, and priming. It can often be that painful extra step for people to paint their ceilings. So, it’s really no wonder that individuals often rush through that step in the painting process.
• Time allowance: Also, another culprit of ceiling paint peeling is not allowing enough time in between coats for adequate drying. This severe cracking found on ceilings is actually called “alligatoring.”
• High humidity or condensation: Poor ventilation, constant humidity, or excessive condensation can lead to mould or mildew growth and damage the adhesion of the paint, eventually causing it to peel.
How Do I Fix Peeling Paint on the Ceiling?
This is where you want to take the proper steps to protect yourself. You’re going to want to get some goggles and a mask prior to working on your ceiling. This is a really important step, especially if you have an older house. For houses built prior to 1979—and yes, those houses still exist—there’s a chance lead paint was used. So, it’s important not to breathe in that toxicity.

Step-by-Step Guide to Fix Peeling Paint on the Ceiling
You will need:
- Drop cloths or plastic sheeting
- Screwdriver
- Putty knife or scraper
- Sandpaper (80 and 120 grit)
- Patching compound (if required)
- Paint roller and/or paintbrush
- Primer (recommend stain-blocking primers)
- High-quality paint, suitable for ceilings
- Ladder
- Safety goggles and face mask

Step 1: Prepare the Workspace
Before starting the process, ensure that the workspace is adequately prepped:
• Remove furniture or cover it with drop cloths to prevent dust and paint from damaging your belongings.
• Turn off the electricity in the room if you plan to remove ceiling fixtures or fans.
Step 2: Removal and Sanding
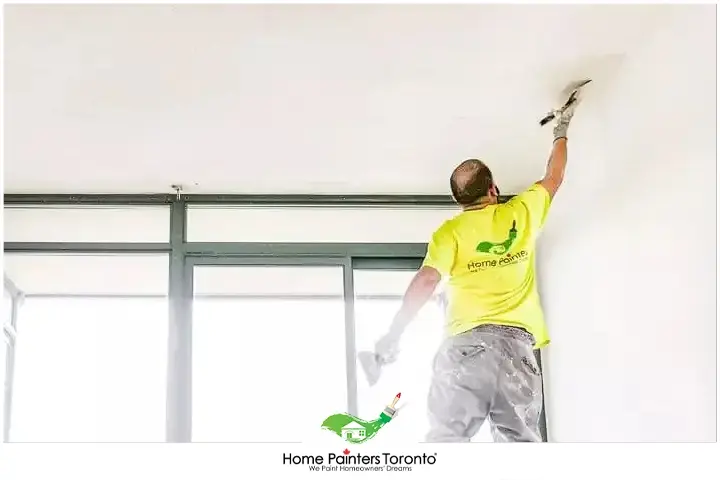
The first step in how to repair peeling paint on a textured ceiling is to get those peeling parts off of the ceiling. You’re going to want to use a scraper to remove the peeling paint. Once you have those areas cleared, it’s likely to be uneven. So, you’re going to want to sand down the ceiling areas that are now bumpy from the uneven or peeling paint. Be sure to brush off any dust or wall grains when you’re done.
Step 3: Patch and Sand Again
Once the area is nice and smooth and clean from debris, this is where you patch up any areas where the peeling paint had previously lived. Apply a layer of patching compound for spackling to the ceiling with a putty knife in an even manner. A good compound to use is DAP Drydex Spackling. Once that first layer has dried, you can apply a second. Be sure to leave it dry overnight.
From that step on, you’re going to want to put on your mask and goggles again and sand the area down. Be sure to smooth out anything so there are no uneven or bumpy spots on the ceiling area.

HOW TO AVOID CEILING PAINT PEELING:
If you want to avoid ceiling paint peeling in the future, it’s imperative to give your ceiling enough time to dry after priming and painting. Also, pick a high-quality paint for your ceilings. After all, they can be such big expansive areas — you want them to look their best. And moisture travels up, so the paint needs to be able to withstand that humidity and water. Lastly, try to keep your rooms well-ventilated. If you follow these few steps, you’ll likely avoid ceiling paint peeling as well as peeling bathroom paint. Don’t forget to check out our Pinterest page for all sorts of interior painting inspiration!
CONCLUSION:
Fixing peeling paint on a ceiling can seem like a daunting task, but with the right tools and methodical steps, you can give your ceiling a fresh, blemish-free appearance. Remember, thorough preparation is key to a successful paint job. So, carefully assess the cause of the peeling paint and follow this guide to restore the beauty of your ceiling once again.
More Interesting Blogs Related to
“HOW DO I FIX PEELING PAINT ON CEILING?”
Do you have peeling ceiling paint in one of your rooms? If the work involved sounds like it involves too much time and energy to do yourself, call 416-494-9095 or email [email protected] for a FREE quote or visit our website. And don’t forget to follow us on all our social channels below!


