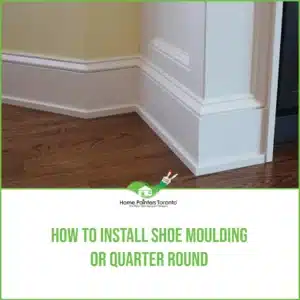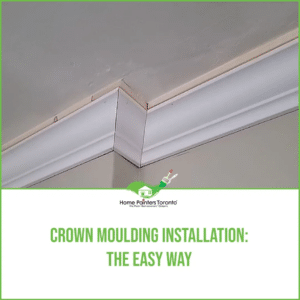
Baseboard moulding lined low on your wall all the way to the floor has a very definitive appearance. It makes the interior of a home stand out compared to walls without it. In all of the most elegant of homes, you’ll usually find baseboard moulding somewhere inside. Read on to learn the steps for baseboard moulding installation.
Understanding the Importance of Baseboard Moulding
Before we roll up our sleeves, let’s quickly talk about why baseboard moulding is more than just a decorative touch. It serves to protect your walls from wear and tear, covers imperfections where the wall meets the floor, and can significantly enhance the aesthetic and value of your home. Selecting the right style and size can complement your home’s design, creating a cohesive and polished look.
How to Install Baseboard Trim Moulding on Wall
Materials That You Will Need for Baseboard Molding Installation:
- Measuring Tape
- Miter Saw
- Circular Saw
- Stud Finder
- Pencil
- Level
- Carpenters Glue
- Construction Adhesive
- 8d, 6d & 4d nails
- Nail Gun
- Coping Saw
- Speed Square
- Compass
- Block Pane
- Biscuit Joiner
- Hammer
- Baseboard Moulding
- Cap Moulding
1. Measure, Cut & Level
- When cutting boards that meet the outside corners of the walls, you should measure a few inches more than the wall itself.
- Number the measured boards on the back of each one so you know where it will need to be lined up and installed.
- Mark where the studs are on the wall using a stud finder and a pencil.
- With your level, ensure the floor is completely levelled.
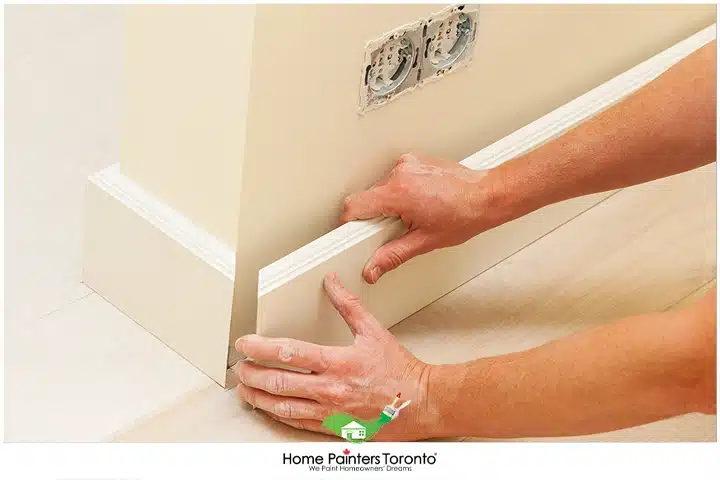
- From the inside corner, holding the first board against the wall, use your level to level the board against the wall and nail it in.
2. Saw
- Using a circular saw, set it for a 2 to 5-degree bevel and cut alongside the scribe line. You want the face of the cut toward the wall.
- Trim the bevelled edge and line with a block plane. When you put back the scribed baseboard, the top edge should line up.
- Once the baseboard is scribed in place, you can hammer in two 8d nails at every stud location.
- Fit one end of the board securely against the inside corner and at the other end as well. Mark the top of the board so you know which direction to move.
- Set the mitre saw to 45 degrees and cut just outside of the line.
- With both boards against the wall, make sure the joint is tight. If it is not, then you can use a block plane and trim it to fit tightly.
3. Glue & Nail
- To be sure that the outside joint stays tight, connect the two with the carpenter’s glue and number 10 compressed wood biscuits.
- Put the carpenter’s glue over the face of the cut, and with the glue, stick the two boards together.
- Align the boards to the wall where you want them and nail two 8d nails into the wall on each side. In between the nails, nail a 4D nail through the joint and the end grain of the opposite piece.
- Make a scarf joint and glue the overlap, then nail through the board that covers the joint.
- When doing the inside corners, butt the baseboard ends together and nail securely to the wall.
- For the cap moulding, put it on the base and make sure it fits tightly against the wall. Nail in with an 8d nail.
- Fill in any gaps with construction adhesive.
- Cope the joints where the cap moulding meets at the inside corners.
- Join the outside corners with mitres and mark and cut. Glue mitre joints together.
- Sand all corners with sandpaper.
- Prime and paint, and you’re done!
Additional Information for Installing Baseboard Moulding:
- You will probably aim to spend around $2.50-$3.00 per linear foot, plus additional costs if you need to rent tools and supplies at approximately $50-$100.
Dealing with Challenges: Radiators, Vents, and Odd Angles
Navigating around Radiators
Radiators can be tricky, but with strategic cuts and careful planning, you can skillfully navigate your baseboards around them. Measure the space meticulously and create a sketch if it helps. When it comes to cutting, consider using a jigsaw to score a cutting line that mirrors the radiator’s shape on the backside of the baseboard. Always remember, to measure twice and cut once!
Working with Vents
Vents can be awkward, especially when they’re located low on the wall. But worry not! The key is to cut the baseboard precisely to the width of the vent, being sure to leave a small gap at the bottom. This ensures the vent isn’t blocked and airflow isn’t restricted. Consulting with a local HVAC professional for specific advice to ensure proper venting standards is never a bad idea.
Managing Odd Angles
Every home has that one corner or wall that doesn’t seem to follow the rules. Working with odd angles might seem daunting, but a good carpenter’s protractor can be your best ally here. This tool will help you measure the exact angle, which you can then divide by two to set your mitre saw correctly for the perfect cut.
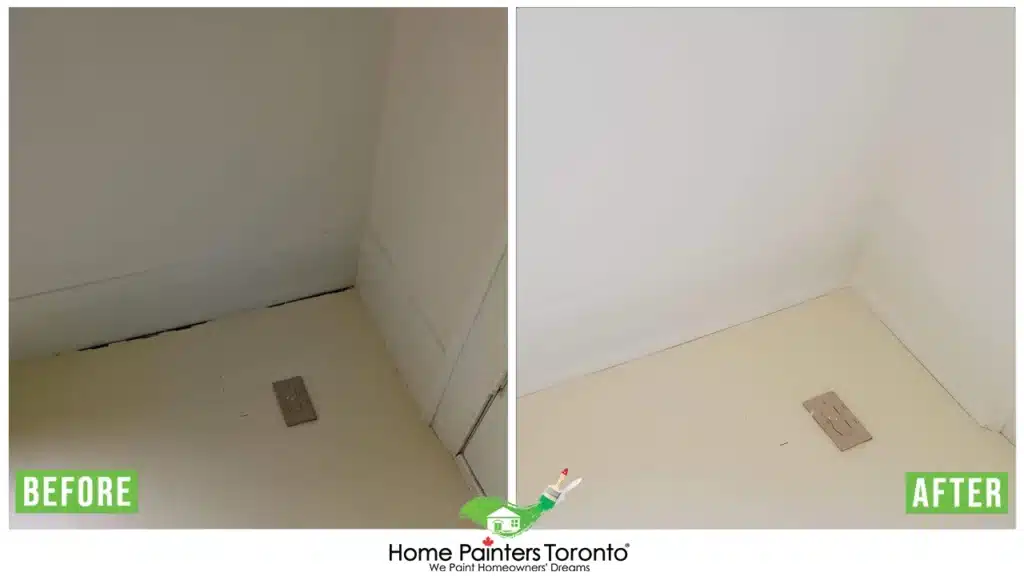
More TESTIMONIALS Related to
“How To Install Baseboard Moulding”
Now that you have learned how to install baseboard moulding you will need to prime and paint it as well, and that’s where Home Painters Toronto comes in, they’ll gladly do it for you! Call us NOW at 416.494.9095 or email [email protected]! And don’t forget to follow us on all our social channels below!


