If you’re wondering how to elevate the aesthetics of your cabinets, this post about crown moulding installation on cabinets may just be the answer. In this blog, we unravel the world of crown moulding, offering a comprehensive guide on choosing, measuring, cutting, and installing this decorative feature to refine your cabinetry.
Understanding Crown Moulding
Crown moulding is a decorative trim installed at the junction where the wall meets the ceiling or, in this particular context, the top edge of cabinetry. It adds a striking visual depth to a space and enhances its aesthetic appeal. Crown moulding is available in different styles. From highly ornate traditional profiles to sleek modern designs and materials like solid wood, MDF (Medium-density fiberboard), plaster, and polyurethane.
Kitchen Cabinet Crown Moulding Installation Process
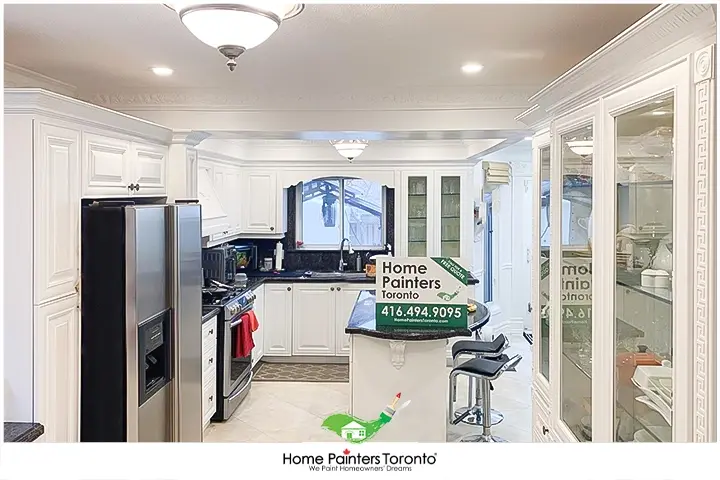
Crown Moulding Installation – Are you considering installing crown moulding in the kitchen? Putting crown moulding in the kitchen will instantly update the appearance of your cabinets and is an affordable project to do on your own. You can even potentially increase the value of your home when you eventually decide to sell it. Read on to learn how easy it is to install crown moulding on your kitchen cabinets.
Materials That You Will Need:
• Crown Molding
• Tape Measure
• Miter Saw
• Wood Glue
• Dimension Lumber
• Coping Saw
• Nail Gun/Finishing Nails
• Hammer
• Rag
Safety First!
Always remember that safety should always be your priority when working with power tools. When cutting crown moulding, use gloves to protect your hands and goggles to shield your eyes from dust or any unexpected splinters.
1. Measure the Length of the Crown
• With your tape measure, you’ll need to measure the length of the crown moulding you’ll need. Find the length of the cabinet tops and try to buy a little more crown moulding than you measured out.
2. Create a Guide Fence
• Miter saw the moulding to the correct angle by creating a guide fence. Place each moulding piece in the mitre saw at the exact angle so it will rest against the cabinets. Rest the top of the moulding against the saw table and the bottom against the saw fence.
• Put a piece of dimension lumber against the moulding and glue it securely to the saw table. After the glue is dry, cut a 45-degree angle. This scrap dimension lumber will be your guide fence.
3. Install Framing
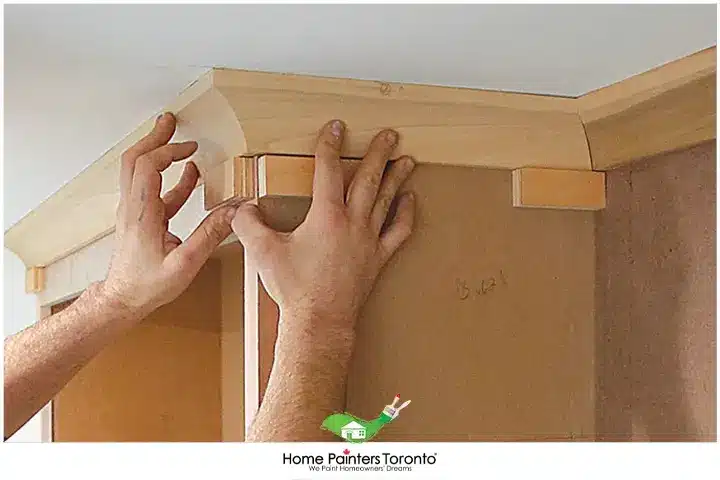
• Using wood glue or nails and a nail gun, secure the crown moulding directly onto the cabinet box.
• You can also put framing along the cabinet tops with a furring strip. Cut the strip to the length needed and glue it on top of the cabinets keeping it aligned with the edges. Then you can put the moulding onto this framing for a cleaner look and easier installation.
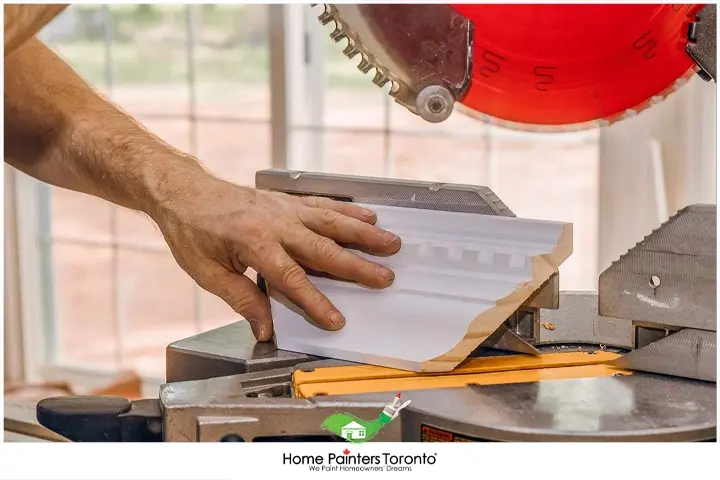
4. Cutting Crown Moulding
How to cut crown moulding on cabinets?
• Cut the first length of moulding so it butts directly against the wall on one end and the other along the corner along the cabinets. Cut the butt joint by making a straight cut with the mitre saw.
• Cut the outside corners of the moulding at a 45-degree angle. If you must cut an inside corner piece, you will do so similarly when installing crown moulding along the ceilings. Cut one piece into a butt joint and the other at a 45-degree angle. Any extra wood can be cut with a coping saw.
• Make sure the pieces are all snugly fit in place.
5. Install Moulding
• Put the moulding together and, using finishing nails, nail it in place. If you put the strip framing along the cabinets, ensure the nails are nailed directly into the framing so it is secure. You can use wood glue at every joint and clean it with a rag.
• Prime/Paint if necessary.
Different Types of Crown Moulding for Kitchen Cabinets
1. Cove Crown Moulding:
This is a simple, versatile, and commonly used type of crown moulding. It has a concave profile that offers a smooth transition between the ceiling and the cabinets.
3. Traditional Crown Moulding:
Traditional moulding usually features more ornate and complex designs with curved or angular profiles.
2. Dentil Crown Moulding:
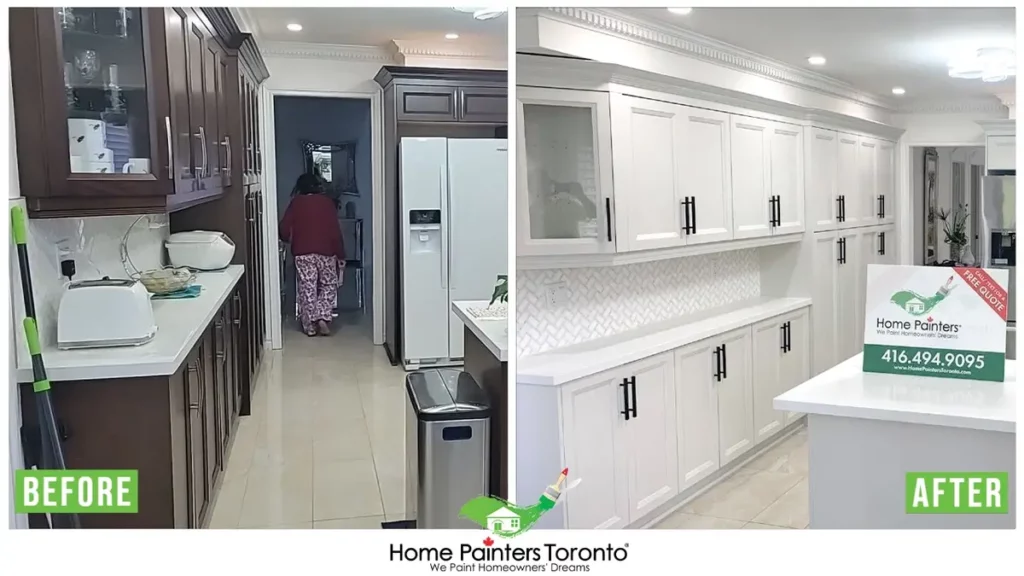
Dentil moulding is a classical and decorative style with small, rectangular blocks that create a tooth-like appearance.
4. Beaded Crown Moulding:
Beaded crown moulding features a row of symmetrical spheres (beads). This type of moulding can bring subtle detailing to space and suits modern and traditional interiors.
5. Ogee Crown Moulding:
Ogee moulding has an “S” shaped profile and is a popular choice for more traditional or formal kitchens.
6. Riser Moulding:
Riser moulding creates a stepped, layered effect, adding depth to your cabinets and ceiling transition.
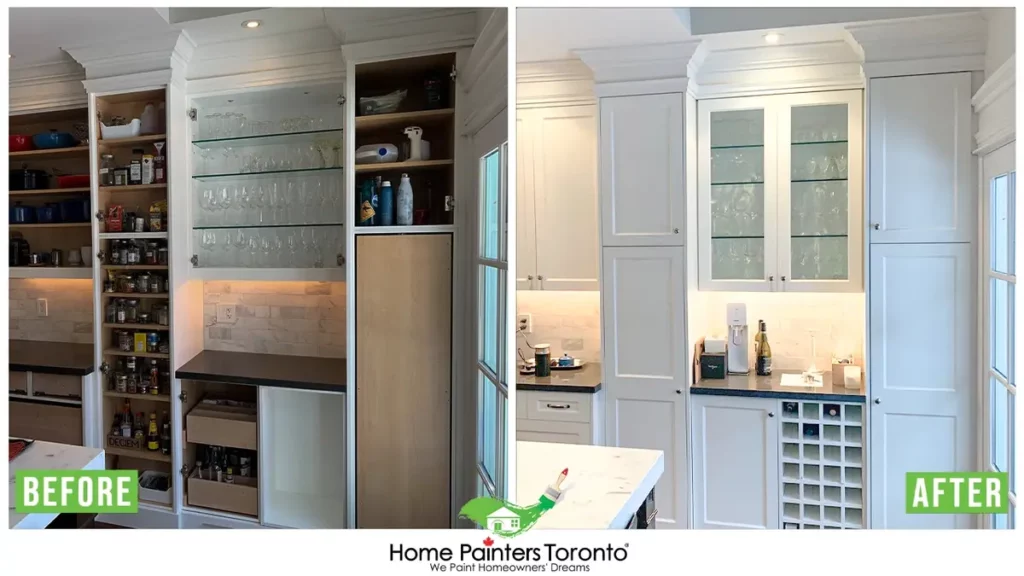
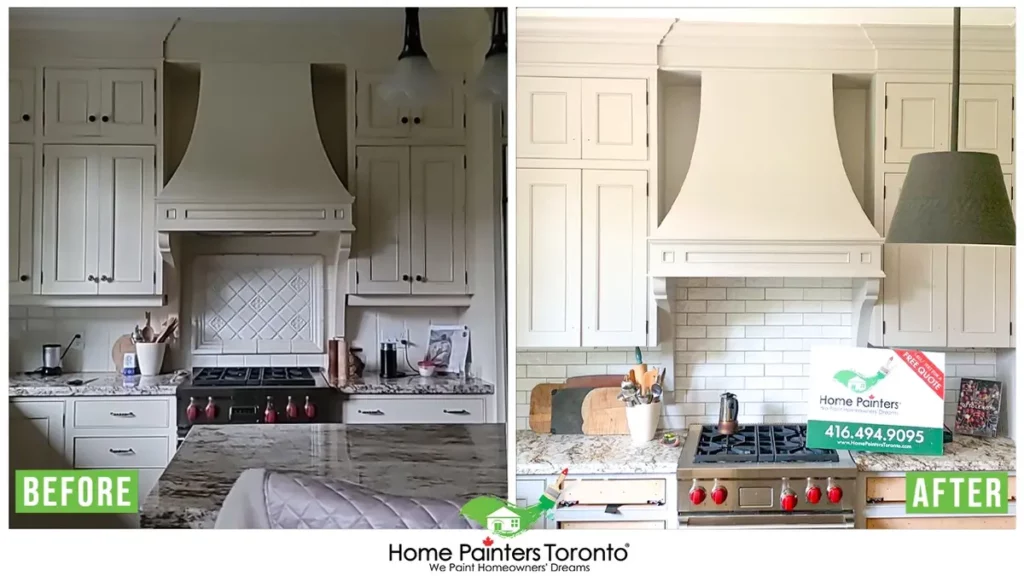
Additionally, some homes may feature a two-piece combination moulding where a base or “carrier” moulding is installed on the cabinets first, and the crown moulding is then attached to this “carrier” piece.
Remember, the style and size of crown moulding depend on the height of your ceiling and the style of your kitchen. Consequently, the process on how to install crown moulding on cabinets of different heights will vary and may require additional steps for proper alignment and aesthetic cohesion. It’s always best to keep these factors in mind when selecting your crown moulding.
More Interesting Blogs Related to
“Crown Moulding Installation On Cabinets”
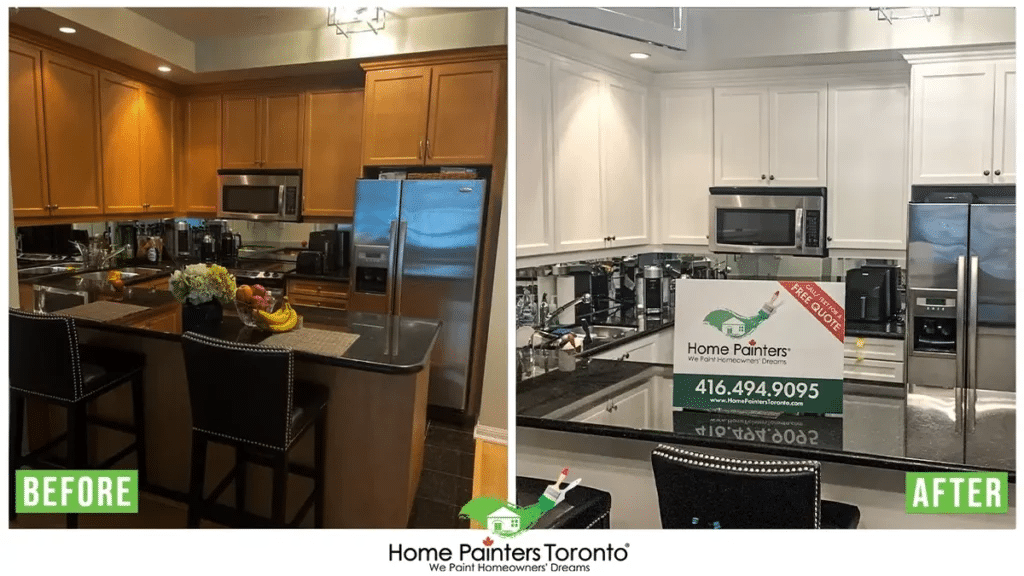
Now that you have learned the process of crown moulding installation on cabinets, you have beautifully updated kitchen cabinets, and your home will feel that much more inviting. If you would like some help with this and have HPT add the finishing touch of paint for you, call them today! Call us NOW at 416-494-9095 or email Brian@HomePaintersToronto.com! And don’t forget to follow us on all our social channels below!


