How to Repair a Wooden Porch Floor
Materials That You Will Need
- Circular Saw
- Safety Googles
- Crowbar/Pry bar
- Hammer
- Chisel
- Wooden Plank Boards
- Oil-based Deck Primer
- Paint Brush
- Rag
- Drop cloth/Tarp
- Nail Gun
- Nails
- Polyurethane Construction Adhesive
- Sander/SandPaper
- Wooden Deck Paint (if necessary)
1. Start Repairing Your Wooden Porch Floor
Sometimes all you may need is a layer of sealant on your wooden porch floor to seal and protect from any further damage. However, if the damaged wooden porch floor requires more than just a sealant and it has more serious wear and tear then you’ll need to remove the problem and replace it. Before you get started, estimate how much of the wooden porch floor you will be replacing and gather an estimate of how many wooden planks you’ll need to put down by how many damaged boards you pry up. Always aim for a little more supplies than you need in case of unexpected damage to the replacement planks.
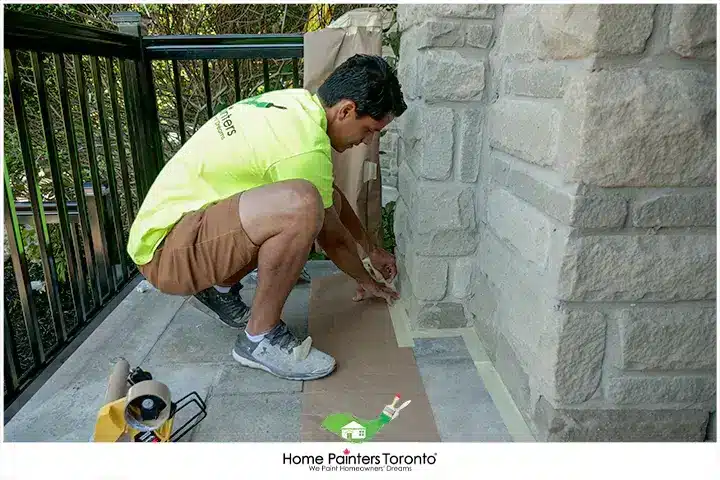
Start by putting on your safety goggles and using a circular saw, sawing lengthwise through the board where it is damaged. You want to isolate the damaged area and if necessary you can draw a cut guideline or just use your better judgment. Be careful not to cut the deck joints or you’ll have more work to do. Keeping the edge of the circular saw blade close together with the porch joints will keep you from accidentally sawing through the deck joints.
Use a crowbar and pry the old damaged/rotted wooden porch planks apart. Be sure to remove all the rotted boards. Using a hammer might be additionally useful. This can be a little tedious, so be patient, taking breaks whenever necessary – depending on the size of your wooden porch floor of course. Be sure to remove any nails that have been pried up as well. You might also need to use a chisel to get rid of any pieces of the damaged board close to your house.
2. Replace and Install
- With the replacement boards that you have measured to fit, lay them out on a tarp or drop cloth and apply an oil-based wooden deck primer to each board to protect them from moisture damage. Allow drying in the sun for optimal dry time.
- Now you’ll need to install the new boards. Use a polyurethane construction adhesive by coating it on the board joists. With a hammer, you can tap each board into position until it aligns perfectly in place. Using a nail gun or by hand, fix them securely to your wooden porch floor by nailing them about 4-6 inches in to keep them all in place. It is not necessary to apply the adhesive and nail them, you can pick one method of securing the boards in place
- If the new boards that you have lain down are uneven, trim wherever necessary using your circular saw. If you need to, use a marker and draw guidelines for where to cut.
3. Finishing Touches
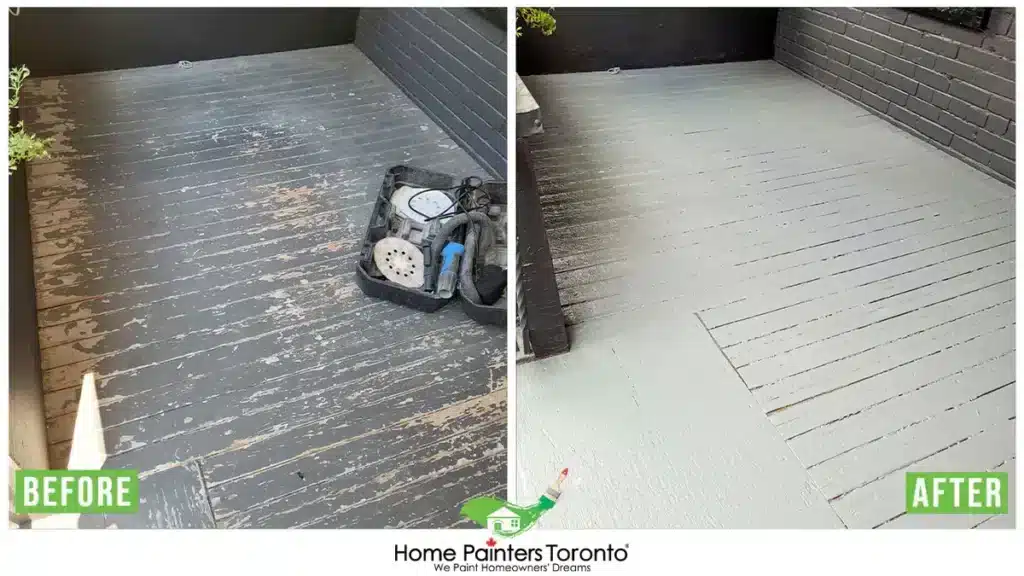
Using a sander, sand the replacement boards to blend in with the remaining boards and wipe away any dust, dirt or debris. You can add some more oil-based deck primer to the exposed ends of the replacement planks and let them dry. If you have a painted wooden porch floor throughout, this is the time to paint the replacement boards to match.
Additional Pro-Tips For Wooden Porch Repair
When you’re trying to repair a wooden porch floor, there are a few things you should consider before diving in.
- First, you need to figure out what kind of wood your porch is made from and what kind of wood do you use for a porch floor?—this will help you determine the best way to repair it.
- Second, you’ll want to make sure that any repairs you make will hold up over time. A lot of times when we think about repairing something like this, we don’t consider how much stress the new parts will be under once they’re installed. If it’s not going to last, then it’s not worth doing! So take that into consideration as well.
- Finally, if possible, try to find some way for your repairs to blend in with the existing wood so that it looks like one piece rather than two separate ones. This will make your porch look more uniform and cohesive overall!
Now that you’ve completed the wooden porch repair, what if you also have a rotten wooden porch post
How Do You Repair a Rotted Wooden Porch Post?
The porch post is one of the most important elements of your home. It provides security and stability, and it can also be an aesthetic focal point for your front yard. Unfortunately, porch posts can rot over time if they aren’t taken care of properly, so here’s how to repair a rotted wooden porch post.
Step 1: Remove the Rotted Post
You’ll need to cut off the rotten post from the bottom up until you reach undamaged wood. Use sharp tools and gloves to avoid splinters. If there isn’t any rot on the bottom half of your post, you may be able to save it by cutting off just the damaged portion.
Step 2: Remove Any Stains or Fungus with Bleach
If there are any stains or fungus present on your post after cutting away damaged sections, use bleach to remove them completely before proceeding with repairs. Make sure to rinse well afterward so that no bleach remains behind—this could cause further damage if left untreated!
Step 3: Replace Any Missing Sections with New Wood
If some parts of your old post are missing, replace them with new pieces of lumber before repainting everything in accordance with the same colour and style. This will help your new post look as good as new!
Step 4: Sand Down Any Rough Edges
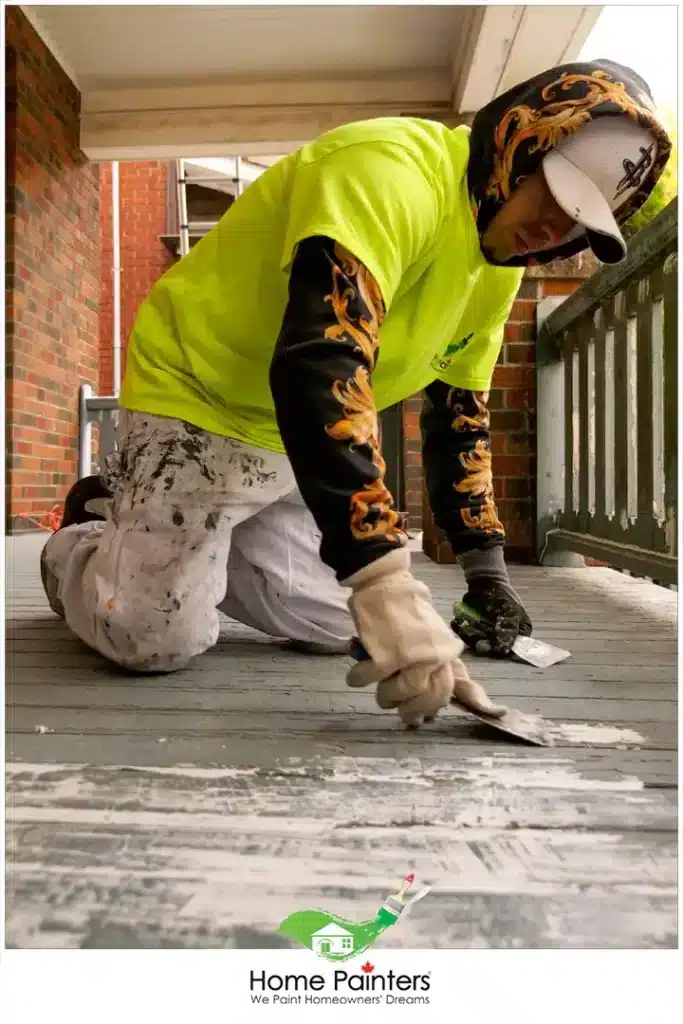
Using a piece of sandpaper or an electric sander, smooth out any rough edges that remain on your post after removing damaged sections or replacing missing sections with new wood. You can also use this step to remove any stains from the surface of your post, if necessary.
Step 5: Paint Your New Post With Stain-Resistant Paint
Once you’ve removed any rough edges and sanded down any damaged sections of your post, it’s time to paint! Use stain-resistant paint that will help protect your new post from future damage by preventing stains from penetrating into the wood. Make sure to apply primer first and allow it to dry completely before painting over it!
Hardwood Floor Installation and Staining | Home Painters Toronto
This D.I.Y project can take up most of your day, but the finished results are fantastic! Most of the time it is not necessary to completely gut out your old wooden porch floor because damaged areas are usually easy to spot.
More Interesting Blogs Related to
“HOW TO REPAIR A WOODEN PORCH FLOOR”
Now that you have repaired your wooden porch floor you have completely transformed your old porch into a brand-new one! However, this project does take a fair bit of time and if you simply don’t have room in your schedule for it, then why not hire an expert exterior wood repair and carpentry company to do it for you? We can help you with all your porch wood repair needs, so why not call HPT today? We’ll do it for you!
Call us NOW at 416-494-9095 or email [email protected]! And don’t forget to follow us on all our social channels below as well!


