Painting your kitchen floor has the potential to change the whole look of the kitchen. It is also a relatively inexpensive way to add some life to your outdated flooring without costly renovations. Your kitchen is a high-traffic area. This makes your kitchen floors a target for more constant wear and tear than other places in your home
But trying to paint linoleum flooring can be tough. Painting kitchen floors with vinyl or lino isn’t like painting concrete floors or walls or even kitchen cabinets. The smooth surface of linoleum makes it hard for paint to stick to it. Kitchen floors are also exposed to moisture because of daily kitchen activities like cooking and cleaning. But you want to make a change to your kitchen floor without replacing it. We’ll give you a word of warning – this process takes several days!

What You Need to Know About Linoleum
First, let’s discuss linoleum—the material that makes up your kitchen floor. Linoleum is an environmentally friendly, cost-effective flooring option made from linseed oil, wood flour, resin, and various other natural materials. It’s known for its durability and water resistance, making it an ideal choice for kitchens and bathrooms. When well-maintained, linoleum can last upward of 25 years! However, over time, it can get worn out and outdated, which is where painting comes in.
Want to paint linoleum?
Follow these steps to paint linoleum floors and give your kitchen new life.
Step 1: Preparation and more preparation!
- Inspect your kitchen floor to see if it is in good enough condition for painting.
- If you find any cracks, be sure that they are not the type that chip off the surface. This could be a persistent issue even after painting kitchen floors.
- If your linoleum looks wavy, this is a sign that it might be breaking from underneath. Check it out thoroughly before continuing.
- Clean the floors. Don’t just mop; get down and scrub. This will help the paint stick better when we get to painting the floor.
- Use a heavy-duty tri-phosphate (TSP) cleaner to remove all traces of grease and grime. We always recommend TSP to take care of prepping surfaces for painting. You can find it in any of your local Toronto home improvement stores.
- The surface of the linoleum might still look glossy. In this case, use a degreaser or a wax stripper to remove the layer of protective wax.
Step 2: Sand Floor Smooth
- Using a medium grit sandpaper, sand the surface of the floors.
- This gets rid of the traces of wax that are left. It also makes the surface rough enough for the paint to stick.
- Cover all areas of the floor. Don’t forget the edges and the corners.
- Mop and clean the floors to get rid of any remaining dirt or particles from the sanding.
Step 3: Prime
- Pick a primer that is designated for flooring. Ask for help at the paint counter if you aren’t sure.
- Make sure the floors are completely dry.
- Using a roller or brush, apply primer to the floor.
- Use as many coats as you need to get a smooth surface.
- Let the primer dry. This might take a couple of days.
Step 4: Paint Linoleum
- Benjamin Moore and Behr both make paints specially designed for floors and porches, usually oil-based so they can stand up to more wear and tear.
- Even if it costs a little bit more, make sure you choose a high-quality paint so you don’t have to be back on your hands and knees painting linoleum floors any time soon.
- Choose one of these porch-and-floor paints in your desired colour, or use an oil-based polyurethane coat to finish. Apply 3 or more coats over your chosen colour.
- You might need two coats of paint for the floor to absorb the paint.
- Make sure each coat is dry before applying the next. The waiting period between coats is usually about a day.
Tips For Painting Kitchen Floors:
- If you have an older floor, there may be some dents that are not visible during the daytime. When you are finished preparing your floor, go over them with a flashlight in the dark. If you find any pits, fill them with wood putty before sanding the floors.
- Use a primer that is similar in colour to your paint.
- If your linoleum floors have grooves in them to look more like tile, make sure you sand into the grooves and don’t just run over them.
- You might want to allow linoleum kitchen floors a week to set. Kitchen appliances are very heavy and could ruin a floor that is not fully cured.
Linoleum Painting Mistakes to Avoid
When it comes to painting your linoleum kitchen floor, the process may seem straightforward. However, there are a few mistakes that people commonly make, leading to less than satisfactory results. To ensure your kitchen floor makeover is a success, be sure to avoid these common linoleum painting pitfalls.
Mistake 1: Skipping the thorough cleaning step
Without proper cleaning and degreasing prior to painting your linoleum floor, dirt, grime, and oils can prevent the primer and paint from adhering well. This may lead to peeling, cracking, and an uneven finish. Taking the time to clean your floor and allowing it to dry completely is a crucial step in ensuring your paint job lasts.
Mistake 2: Neglecting to sand the surface
While it might seem unnecessary, sanding your linoleum floor is an essential part of the process. Failing to sand the surface will make it challenging for the primer and paint to form a strong bond, leading to chipping and peeling. A light sanding with 200-grit sandpaper is all it takes to create a surface ready for paint.
Mistake 3: Using the wrong primer or paint
Not all primers and paints are designed for use on linoleum or vinyl floors. In fact, some can cause more harm than good when applied to these types of surfaces. When selecting your primer and floor paint for linoleum, ensure they are specifically formulated for use on linoleum or vinyl flooring. Porch and floor paint, latex, or acrylic paint are recommended and are the best paint for linoleum floors.
Mistake 4: Rushing the drying time
Even though you might be eager to see the finished result, giving your floor ample drying time between coats of primer, paint, and sealer is crucial to your project’s success. Rushing the drying process can lead to a subpar finish, bubbling, and peeling. Always follow the manufacturer’s drying recommendations for each product you use.
Mistake 5: Skipping the clear protective coat
Applying a clear polyurethane sealer may seem like an optional step, but it’s essential for preserving the longevity and durability of your painted floor. Skipping this step can result in scuffs, scratches, and paint wearing away from heavy foot traffic. A couple of coats of sealer provide that crucial barrier to protect your beautiful new finish.
By avoiding these common linoleum painting mistakes, you’ll ensure your kitchen floor makeover is a successful and long-lasting endeavour, adding value and beauty to your home.
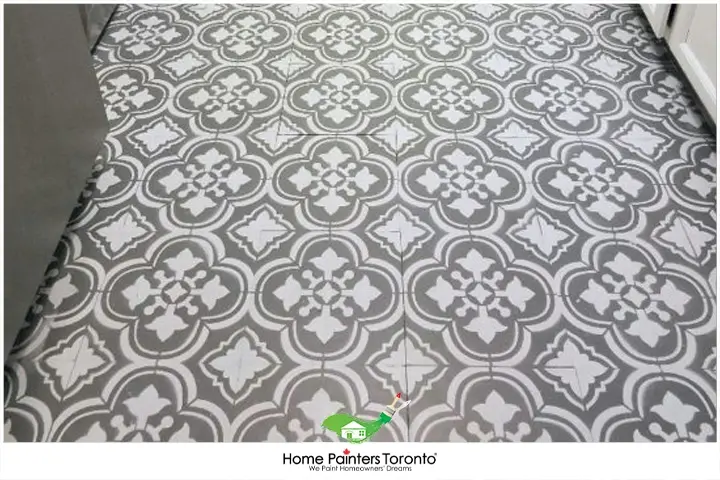
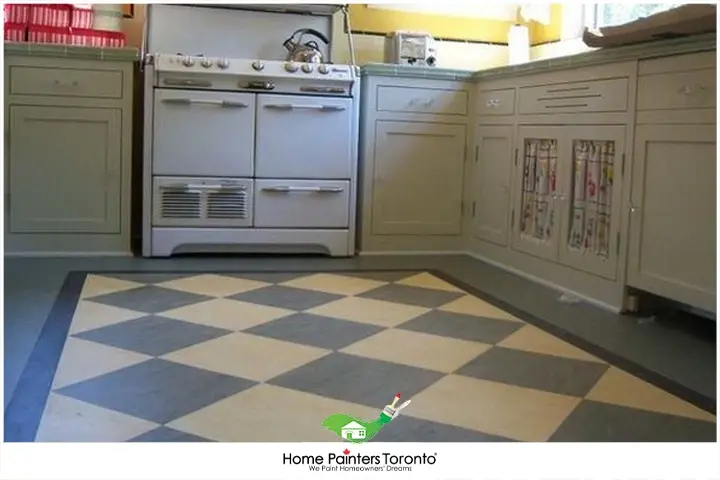
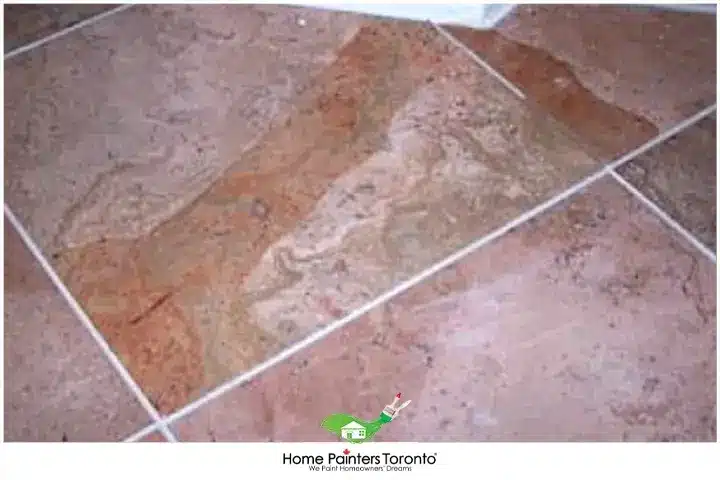
Pictures of Painted Linoleum Floors


There you have it—a cost-effective and straightforward way to repaint your linoleum kitchen floor during Kitchen Week! Learn to enjoy your newly updated kitchen, knowing you’ve transformed your space without breaking the bank.
Of course, if you aren’t feeling up to the extra work, why not let Home Painters Toronto take a load off your back? With over 37 years of professional painting experience and one of the top ratings in Toronto and the GTA, there is no kitchen floor we haven’t been able to make sparkle. We’ll give you advice on the process, help you pick colours, and let you know everything you need to know about painting kitchen floors.
Seen some pictures of painted kitchen floors and now you want your own? Give us a call today at 416-494-9095 for your FREE quote, or email us any time at [email protected]. We can’t wait to get started in your house, painting linoleum floors. And don’t forget to follow us on all our social channels below!


